
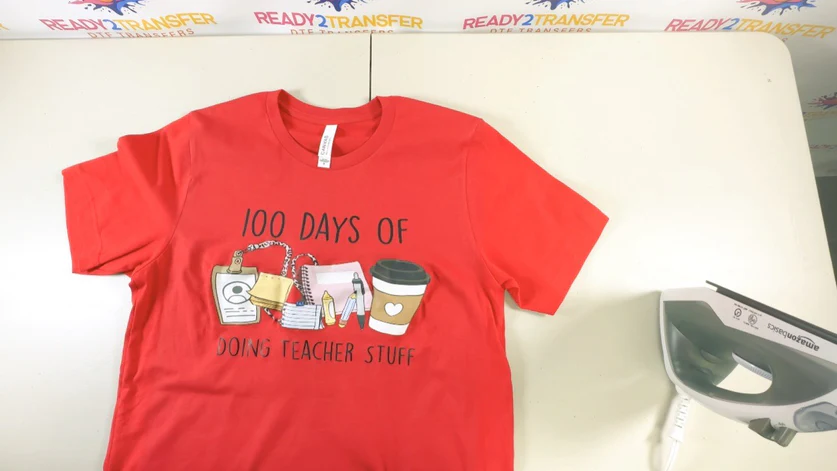
STEP 1
Place the DTF transfer, and follow heating instructions down below. When the iron has reached the desired temperature, apply hard pressure evenly to the transfer.
24 Hour TAT - Cut-off time 5 AM - Free Shipping On All DTF Orders Over $75

Complete guide to pressing DTF transfers with a home iron. Step-by-step instructions for applying custom DTF heat transfers using a standard household iron. Learn temperature settings, pressure techniques, and timing for professional results without expensive equipment.
Place the DTF transfer, and follow heating instructions down below. When the iron has reached the desired temperature, apply hard pressure evenly to the transfer.

Once you have completed adding heat and pressure evenly to the DTF transfer, please give it 15-20 seconds to cool. Carefully peel the top layer off the transfer.

Cover the transferred image with parchment paper, or a Teflon cover sheet and heat press it again for 15 seconds. Tip: Teflon (for shiny look) or parchment paper (for matte look)
Place the DTF transfer, and follow heating instructions down below. When the iron has reached the desired temperature, apply hard pressure evenly to the transfer.
Once you have completed adding heat and pressure evenly to the DTF transfer, please give it 15-20 seconds to cool. Carefully peel the top layer off the transfer.
Cover the transferred image with parchment paper, or a Teflon cover sheet and heat press it again for 15 seconds. Tip: Teflon (for shiny look) or parchment paper (for matte look)
With our premium DTF transfers, create any apparel in seconds. Easily create durable, vibrant designs in 3 easy steps. Always read tag for washing instructions.
| Material | Temperature | Time |
|---|---|---|
| Cotton | 325F | 20 Seconds |
| 50/50 Blend | 300F | 15 Seconds |
| Tri-Blend | 275F | 15 Seconds |
| Polyester | 275F | 10 Seconds |
| Polyester Hats | 250F | 8-10 Seconds |
DTF (Direct to Film) is a heat transfer printing method that prints directly onto a special film, then transfers to fabric using heat and pressure. DTF transfers work on any fabric type, color, and material - making them perfect for custom apparel, bags, and accessories.
Most DTF transfer orders ship within 24 hours. Rush options available for same-day printing. Express shipping options available at checkout for urgent orders.
DTF transfers work on virtually any fabric type including cotton, polyester, blends, denim, leather, and more. They work on any color fabric - even dark colors - without needing a white base layer. Perfect for custom apparel, bags, caps, and accessories.
Set your home iron to the cotton setting (high heat), which is typically around 325°F for cotton fabrics. For 50/50 blends, use 300°F, and for polyester, use 275°F. Always pre-heat your iron before applying DTF transfers for consistent results.
Press DTF transfers for 15-20 seconds with hard pressure using a home iron. Apply even pressure across the entire transfer area, moving the iron slowly to ensure consistent heat distribution. For cotton, press for 20 seconds; for blends, 15 seconds is sufficient.
Yes! Pre-press your garment for 2-5 seconds at high heat to remove moisture and wrinkles. This crucial step ensures better adhesion and prevents bubbles or wrinkles under your DTF transfer. Always work on a hard, flat surface like an ironing board.
Apply hard pressure evenly across the entire DTF transfer when using a home iron. Press down firmly and move the iron slowly to ensure consistent contact. Avoid lifting the iron during pressing - maintain continuous pressure for the full 15-20 seconds.
No! Turn off the steam function completely when pressing DTF transfers with a home iron. Steam can interfere with the adhesive and cause the transfer to not stick properly. Use a dry iron on the highest heat setting appropriate for your fabric type.
Wait 15-20 seconds after pressing with a home iron, then test a corner. Most DTF transfers can be peeled while warm (not hot). If the transfer resists peeling, wait until completely cool. Follow the specific instructions provided with your DTF transfer for best results.
Yes, a finishing press is recommended for extra durability. Cover the transfer with Teflon for a shiny finish or parchment paper for a matte finish, then press for another 15 seconds at the same temperature using hard pressure. This step helps seal the DTF transfer and improves longevity.
Yes! Home irons work with DTF transfers on cotton, polyester, blends, denim, and more. Adjust temperature based on fabric: 325°F for cotton, 300°F for 50/50 blends, 275°F for tri-blend and polyester. Always check the fabric care label and adjust accordingly.
If your DTF transfer doesn't stick, check that your iron is at the correct temperature, ensure you're applying hard pressure, and pressing for the full 15-20 seconds. Make sure the garment is clean, dry, and pre-pressed. Verify steam is turned off and you're using a hard, flat surface for even pressure distribution.