
Select Your Print Size
Use the guide above to choose the perfect size for your product and design
24 Hour TAT - Cut-off time 5 AM - Free Shipping On All DTF Orders Over $75

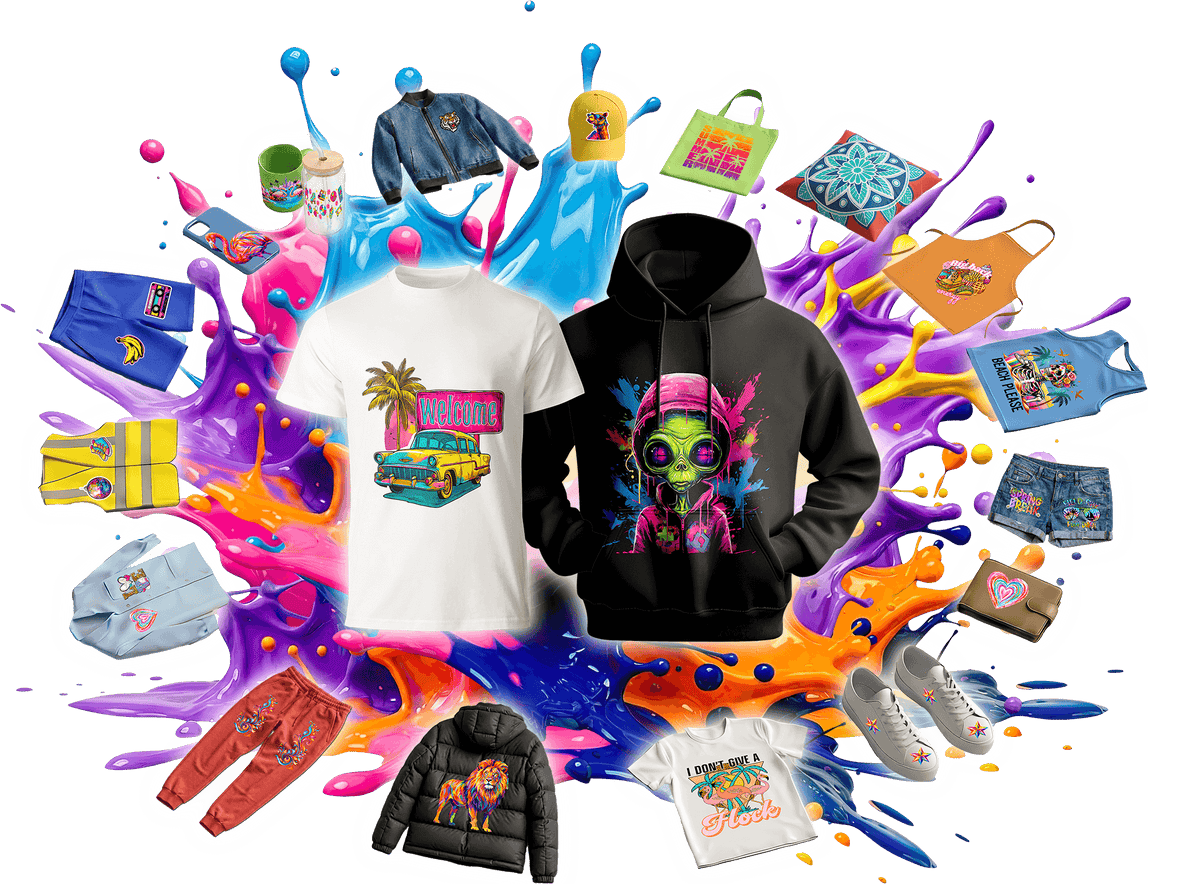
The Ready2Transfer Learning Hub is your go-to library for mastering Direct-to-Film printing. Explore detailed tutorials, press charts, artwork specs, and proven production workflows so you can dial in color, coverage, and speed on every project.
Whether you are launching a merch line or scaling a print shop, this guide shows you how to prep art, build gang sheets, press any garment, and troubleshoot like an expert.

Direct-to-Film (DTF) printing lays eco-solvent inks onto a coated PET film, applies adhesive powder, and cures the design so it bonds to apparel with heat and pressure. The process delivers saturated color, razor-sharp detail, and stretch-friendly finishes across cotton, polyester, fleece, canvas, leather, and blends.
Choose DTF when you need short or long runs with unlimited colors, no weeding, and the durability to survive repeated washes, abrasion, and everyday wear.
Try this easy 5-step process:
For step-by-step coaching, visit How to Press a DTF Transfer in our How-To section.
Perfect for custom branding on inside/outside neck labels or small product tags. Ideal for subtle, professional branding.
Cuff logos, chest badges, and baby apparel shine at 4 inches wide. Keep line thickness above 0.05 inches for crisp detail on curved surfaces.
A 4 inch transfer fits most shirt pockets, infant tees, and sleeve hits. Center the art within 3.5 inches tall to avoid seams and pocket stitching.
Use 5 inch graphics for left chest icons, toddler tees, or apron logos. This size balances readability with minimal film coverage for breathable garments.
Center 6 inch designs on toddler tops or tote bags for bright, full-front coverage without overwhelming the garment.
Full-front art on youth tees, gym bags, or medium totes works best at 8 inches wide. Keep critical text within 7 inches to avoid wrinkles near seams.
Choose 10 inches for statement graphics on adult small or medium tees. This dimension fills most chest areas while keeping margins from armpit seams.
Scale up to 11 inches for adult large or XL garments, hoodies, and crewnecks. Maintain at least 1 inch of clearance from the collar for a balanced look.
Oversized prints for XL or 2XL shirts typically live in the 11-12 inch range. Use this size for bold slogans or full photo panels.
Large format hoodies, stadium crewnecks, and 3XL tees benefit from 13 inch transfers. Leave 0.5 inch gutters between elements on gang sheets to prevent overlap.


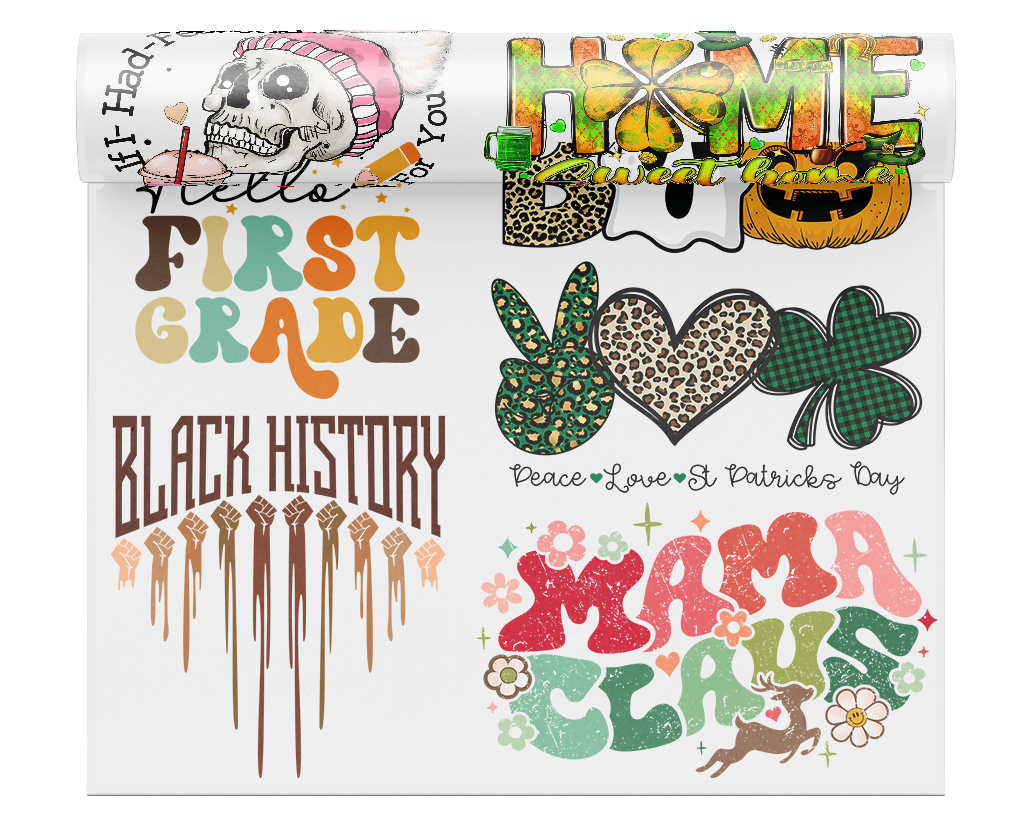
Maximize sheet usage and reduce costs by grouping multiple designs on one sheet:
Need a walkthrough? See How to Create a DTF Transfer Gang Sheet for screenshots and layout best practices.
DTF printing layers CMYK+W inks on PET film, coats the print with adhesive powder, and heat cures it before pressing onto textiles. The process creates flexible, high-opacity graphics that bond to light or dark fabrics without weeding or vinyl cutting.
Most custom gang sheets and ready-to-press transfers ship within 24 hours Monday through Saturday. Same-day rush lanes and expedited carrier upgrades are available at checkout for urgent drops.
Press DTF art onto cotton, polyester, blends, spandex, canvas, denim, leather, tote bags, hats, and more. Always pre-press thick garments and test specialty fabrics to confirm dwell time and peel temperature.
Upload 300 DPI PNG, PDF, or AI files with transparent backgrounds. Keep text above 6 pt, outlines thicker than 0.03 inches, and expand strokes before output. Our prepress team reviews every file and will flag adjustments if needed.
Yes. There is no minimum order quantity. Combine multiple SKUs, colorways, and size runs on a single gang sheet to reduce cost per print. Just keep 0.25 inch gutters between graphics for clean trimming.
Use a calibrated heat press at 300-315°F with medium-firm pressure and follow the recommended peel temperature. Finish with a 5-second post press using parchment or a Teflon sheet to lock in the adhesive.
Provide Pantone, HEX, or brand color references in the order notes and we will adjust profiles before printing. Need a physical proof? Order a single sample sheet to review color and feel before scaling up.
Bookmark the DTF Transfer Learning Hub blog for heat press charts, artwork templates, video walkthroughs, and live office hours with Ready2Transfer print coaches.